Creating a cinematic Marvel-style introduction is easier than you think with Shotcut. This tutorial walks you through each step, from gathering images to applying filters and layering effects. Let’s begin.
Gather and Prepare Marvel Character Or Scene Images
Begin by collecting images of Marvel characters. Great sources include royalty-free sites like Pexels and Pixabay. To really pull off this effect, you may want to download the Marvel font as well.
A tip about image resolution: I suggest you resize your images to 1920 x 1080 pixels if you want full HD before importing. This keeps Shotcut running smoothly and avoids later performance hiccups. If your video resolution is higher, then size the images appropriately.
By doing so, Shotcut or your computer isn’t stressed unnecessarily by dealing with extra large files. This is important if you plan to use lots of images.
Arrange Images on the Timeline
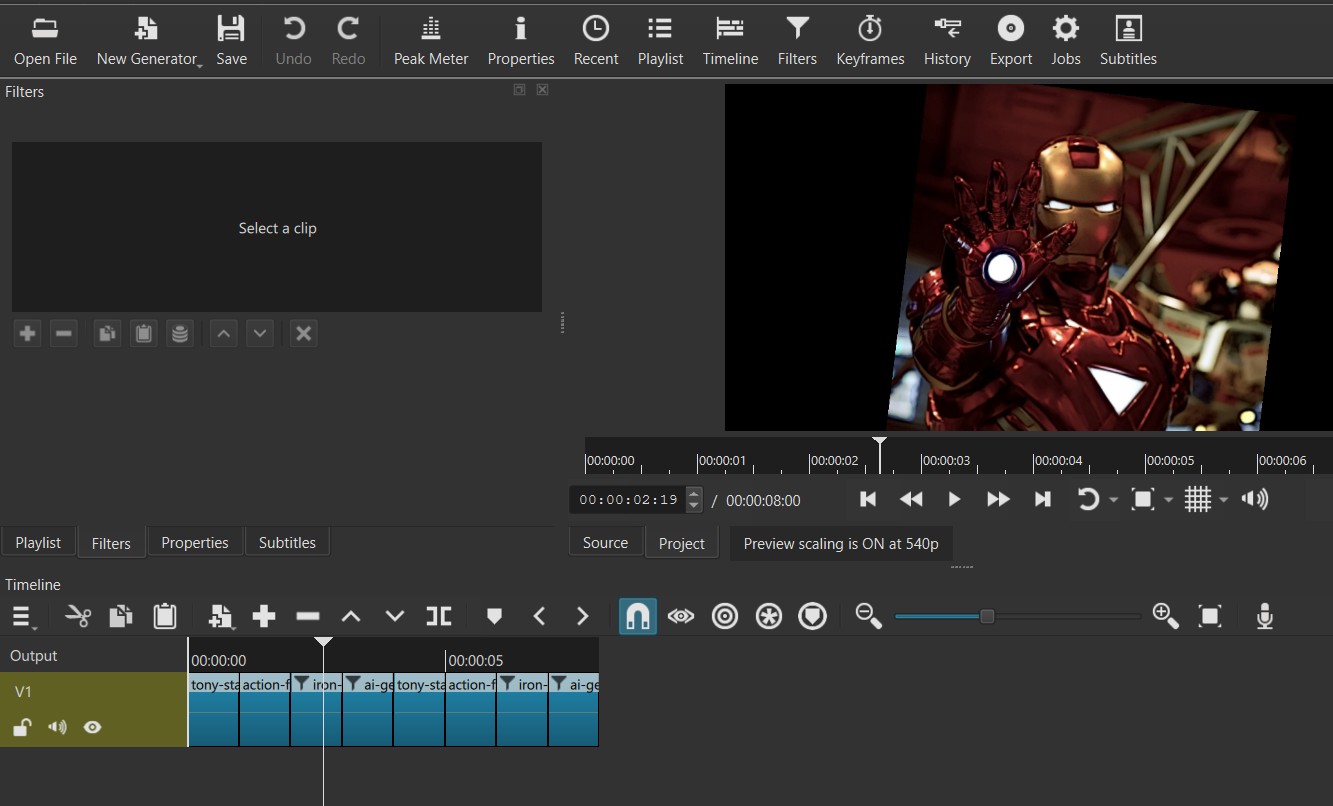
Import the images into Shotcut and arrange them sequentially on the timeline. I st the duration of each image to 1 second using the properties tab. You can use shorter or longer time frame and adjust the speed later.
Next, use the Size, Position & Rotate filter to zoom, rotate, or pan images as desired. Since the Marvel style intro effect has a comic like feel, you can zoom in a lot and not worry too much about it.
Once your sequence is set, export it as a video clip. This step makes it easier to apply blend mode effects later.
Build the Base Composition

Reimport the exported clip back into Shotcut. You can start a new project in Shotcut. Next, add two additional video tracks to your project.
Place the important Marvel character video clip on the top track i.e. track V3. Adjust the speed of this clip so that the images change fast one after another. The speed will depend on the length of the image you choose earlier.
You can try between 3x and 5x speed depending on how dynamic you want the sequence to feel.
Next, go to New Generator and select color. Create a solid red by changing the alpha channel figure to 255. Place this to track V1 and stretch it to match the duration of the top clip.
Apply Blend Mode And Visual Filters

Select the clip on V3 and add the Blend Mode filter. Set the mode to Multiply to blend it with the red background. Your top clip now should look red.
If the video clip looks too dark, you can adjust this using the:
- Brightness filter to brighten dark images.
- Opacity filter to adjust transparency and allow the red layer to pop through.
Add The Required Text
Go to New Generator > Text and type your desired word. I’ll use the word “Marvel”. Drag in onto track V2.
Adjust the text size to fit your intro. You can do so by several methods including increasing the font size, by unchecking “Use font size” option and scaling manually. I’d also center the text using position controls.
The length of the text should cover just the later part of the video montage.
Add Background Music
The audio is important. Choose the appropriate audio for this intro. You can search for royalty-free cinematic music online. YouTube Audio Library is one option.
Add an audio track and drag the audio to the timeline below your video layers.
Video Tutorial
Final Thoughts
That’s all there is to this Marvel style intro using Shotcut! If you’d like to explore more creative effects or refine your editing workflow, click here to find out more on the Shotcut’s official training.